


Of course, when I saw it, it was much closer and right over the house and about 98 times larger. Daddy Robin was going to kick some serious ass - or at least try. We *heart* guys that protect their women.
Which got me to thinking what Mamma Robin was up to, and how the baby eggs were doing. Last year, they grew up and flew away in a matter of what seemed like days. She had 2 broods last year!
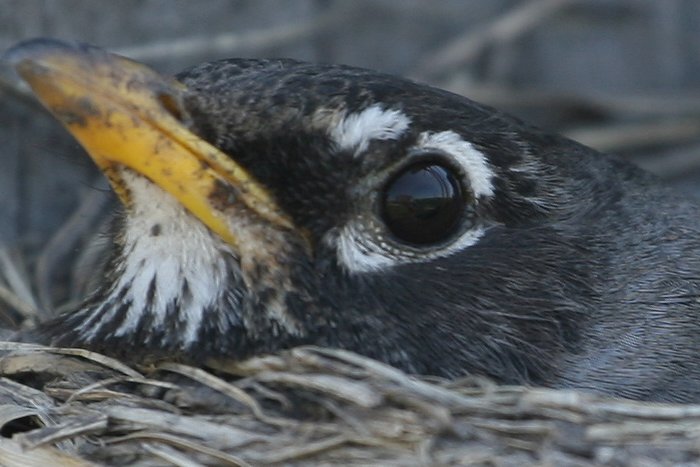
So I put on the long lense again, and decide to see how close I can get to her, before she takes off on me.
I got to about here:

So then I decided since she was gone, to see how the eggs were doing... or naked flying rat looking things. {unsure of what stage of gestation we were at at this point}
Oh looky:
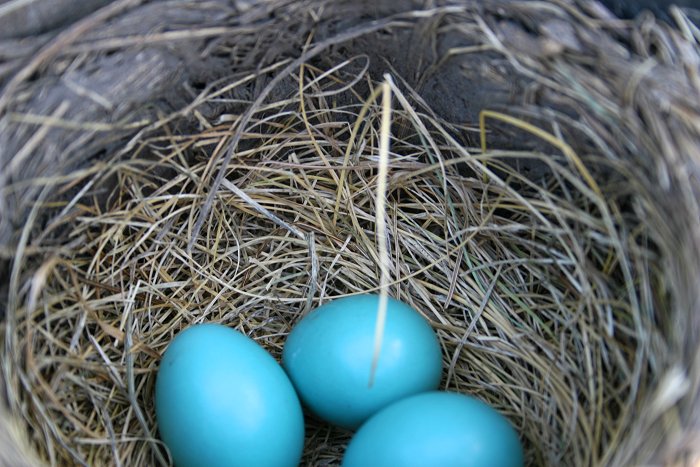
Wait for it....
Wait...
Wait....
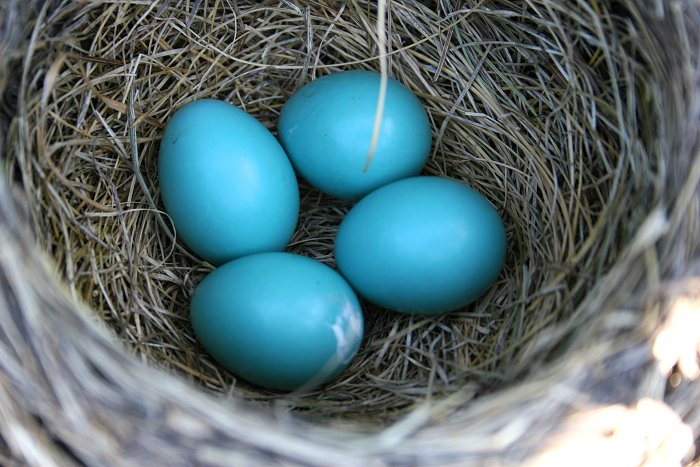
There's 4 now!!
I'm sure she's going to totally regret that. Last year two barely fit in there. I'm wondering if one is going to get pushed out :/ {I understand honey, there's been days. There have *been days*}
I'll stay on top of "Robin Cam - 2009" for you.
In the meantime, I really MUST get back to work. I let the blog distract me for 1/2 hour and I have so much to get done!


 Old stock Sticker Studio (I think).


And lastly, the fake birth certificate that the hospital gave us when Seth was born.
I'm happy the project is done. I do feel a bit like I'd been building up this project for *years* and saving this and that for it, when it came time to do it, I used themed coordinating papers so a lot I "saved" didn't get used. Let that be a lesson, stop saving and start using!